India's Biggest AI powered Web Services Provider
Premium web hosting, domain names, and enterprise cybersecurity solutions. Trusted IT services provider since 2005 with 24/7 support.
COMPREHENSIVE WEB SERVICES IN INDIA
Web Hosting, Domain & Cybersecurity Services
Complete web hosting solutions, domain registration, and enterprise cybersecurity services. Trusted by 500+ businesses across India since 2005.
Web Hosting
Reliable hosting services to keep your website running 24/7 since 2005.
Cloud Solutions
Scalable cloud technology for big data and AI applications.
Cybersecurity
Comprehensive security solutions to protect your digital assets.
Dedicated Servers
Bare metal servers with 100% hardware ownership from day one.
Email Services
Professional email solutions including Google Workspace and Office 365.
Domain Services
Register and manage your domain names with competitive pricing.
Why Choose Us
We don't wait for threats to find you; we actively seek out vulnerabilities and fortify your defenses.
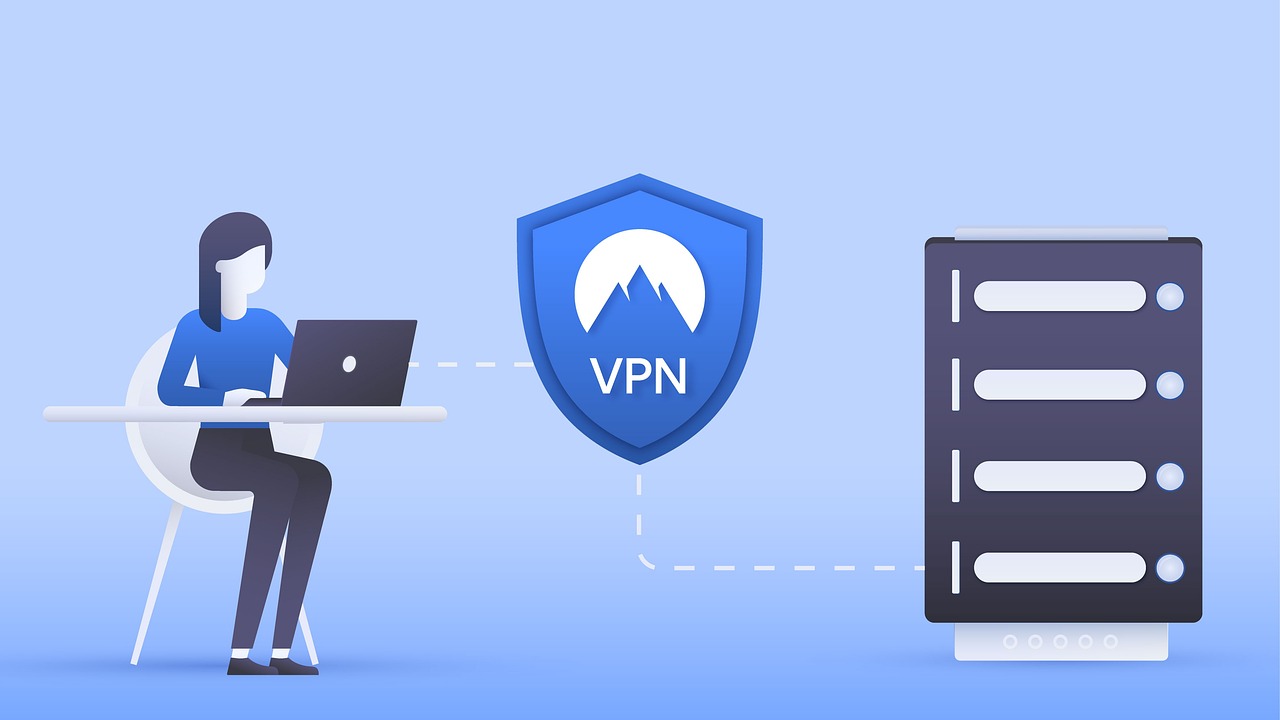
Website Security
A compromised website isn't just a technical issue; it's a threat to your reputation and customer trust. Our comprehensive security solutions protect your digital assets 24/7.
- SSL/TLS certificates for secure connections
- 24/7 security monitoring and threat detection
- DDoS protection and firewall management
- Regular security audits and vulnerability assessments
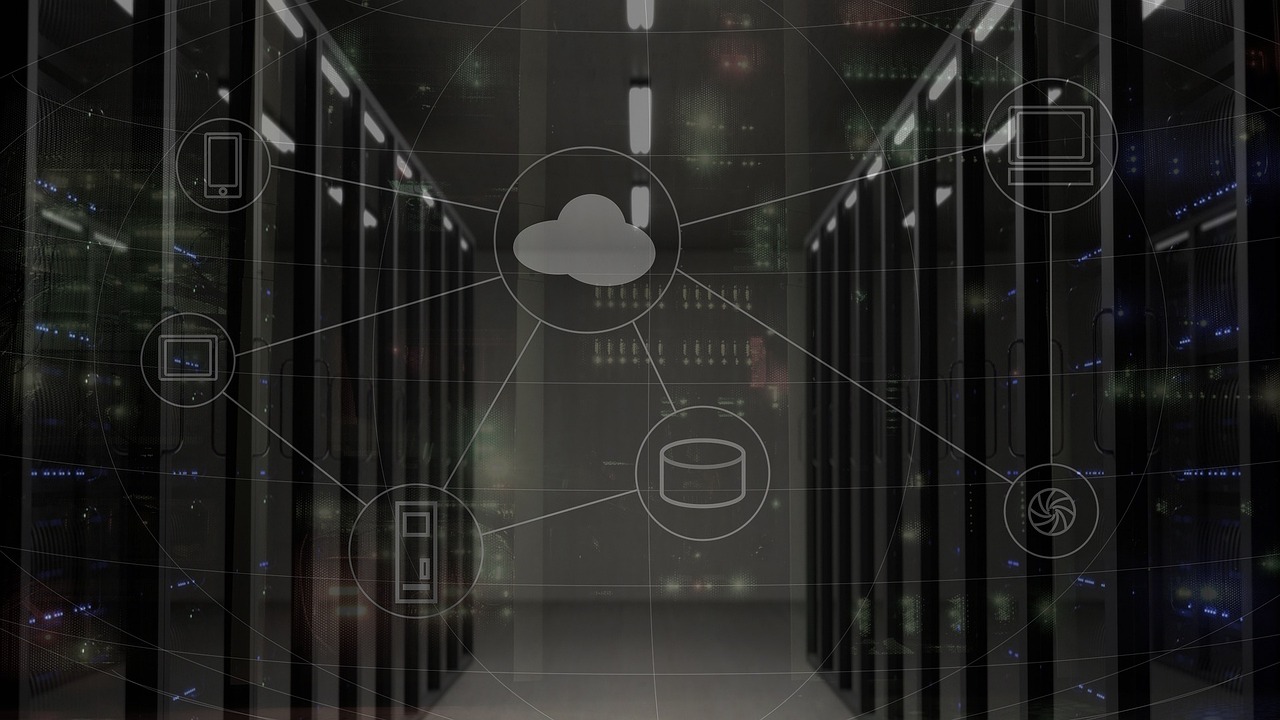
Cloud Infrastructure
Cloud technology has changed the way we use our computing power. From big data to AI, everything is in the cloud with scalable, reliable infrastructure.
- Scalable resources that grow with your business
- High-availability infrastructure with 99.9% uptime
- Global datacenter locations for low latency
- Flexible pricing with pay-as-you-go options
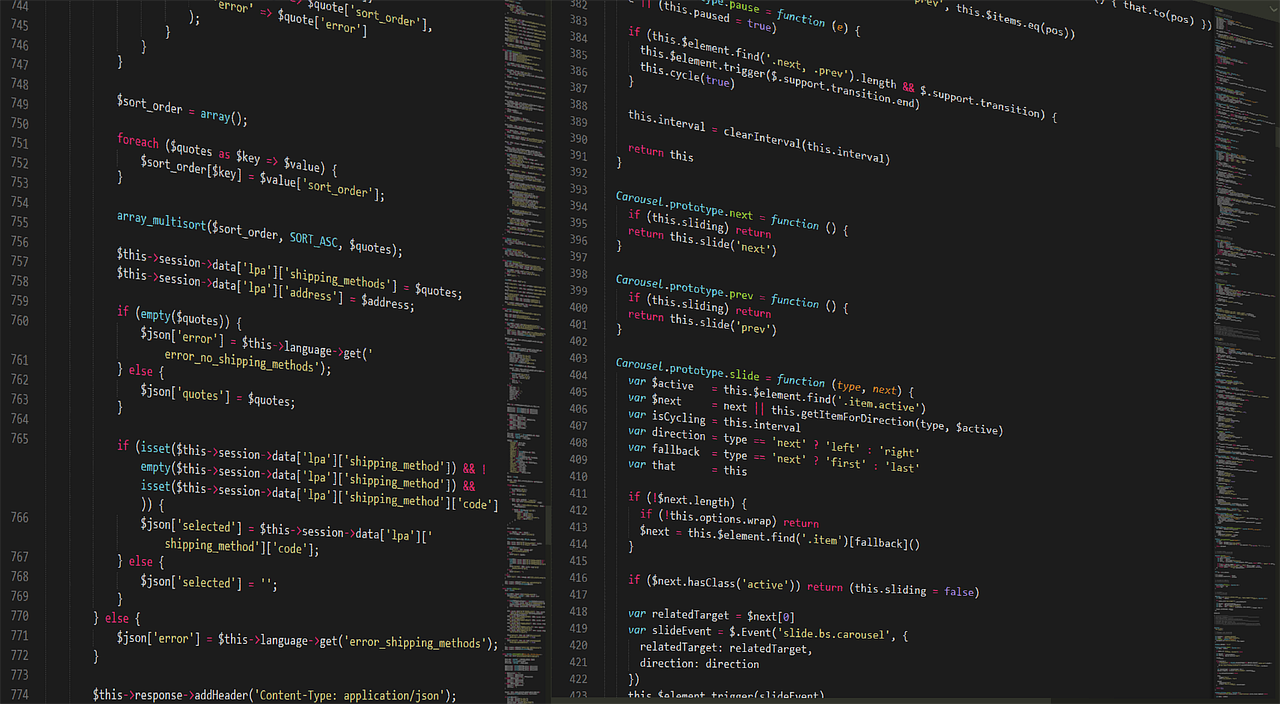
Website Development
Website designed on modern platforms gives you the ultimate looking website crafted for your specific requirements with cutting-edge technology.
- Responsive design for all devices
- SEO-optimized for better search rankings
- Fast loading speeds and performance optimization
- Custom solutions tailored to your business needs
Trusted by Companies of All Sizes
Converting customers into fans since 2005 with our wide range of solutions
Why Netspace™ (India)?
Use powerful technologies with scale, performance, security, and reliability.
Enterprise Ready
Our enterprise-grade technology is used at a global scale by big tech, banking, SMEs, and startups alike.
One Stop Solutions
Make management easy by getting IT-related services from one-stop, helping you to save time and money.
Keeping Up with Trend
Our team of researchers keeps renovating with the latest trends in the market that help us to provide better services.
Industry Standard
At Netspace, you can rely on our skillful team to build you a high-quality service that perfectly fits industry standards.
Compliance Ready
Keeping up with the latest government & customer compliance is our priority with implementation of security architecture.
Custom Solutions
Whatever business you're in, let us show you our highly custom solutions when it's about IT web services in India.
Need Help? Get in touch with Our Support Team
We're looking for people who share our passion for bringing your website online